
Enter Sample Intervals

New Interval Records
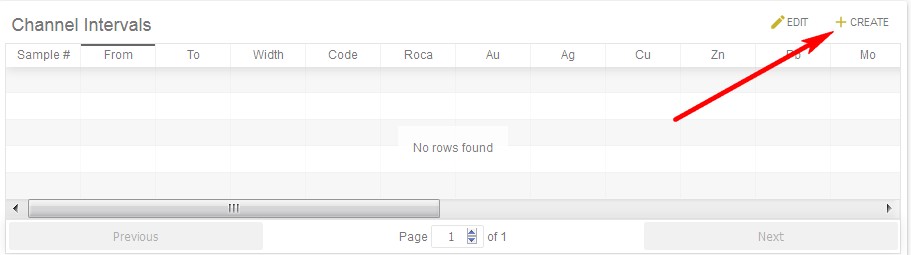
Intervals can be entered directly in STOPECALCTM as for Header data. In the same manner, click on the + Create item in the upper right-hand corner of the Intervals window to activate Create mode:
A blank line is inserted:
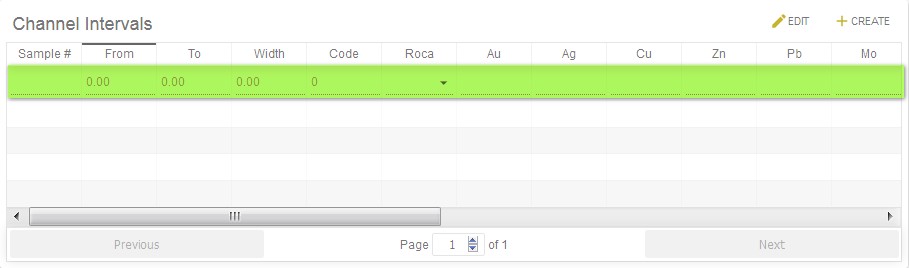
Next, click on the Edit item to enable editing of the table:
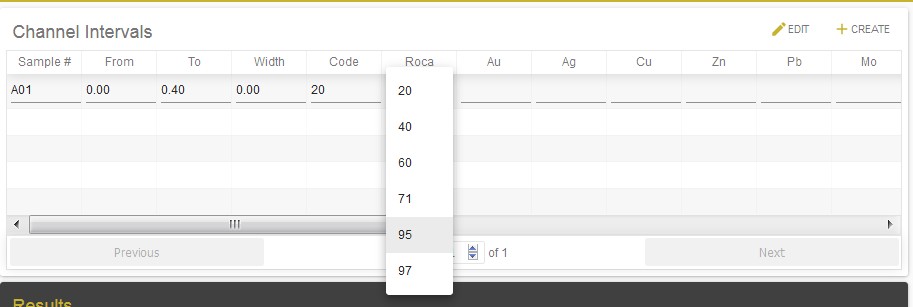
Fields with drop-downs specified in Project Setup will be active.
Required Fields
Every record must have the following fields with values:
Sample#
From
To
Sample Area
Width can be entered, but it will be overwritten when the face is calculated by subtracting the 'From' value in each record from the corresponding 'To' value. Since area weighting is the default calculation method, a sample area must also be entered for each record to avoid calculation errors. If sample area information is not collected, the user can simply copy the sample 'Width' value to each 'Sample Area' field in the same record.
Bulk densities may be entered in the Intervals table for some, or all of the samples. These might be derived from studies that define density by material type or assay grades. They should be calculated or assigned in the property database by formula or statement logic. If density is skipped during the import of data for some, or all samples, those samples with blank values in StopeCalc will be assigned the default densities specified in Project Parameters and attributed based on the Econ Zone flag.