
Navigating Filters

Navigating Filters
Filtering is invoked from the face Header section in the Faces tab of the main menu. The red arrow below points to the radio button which opens a dropdown menu:
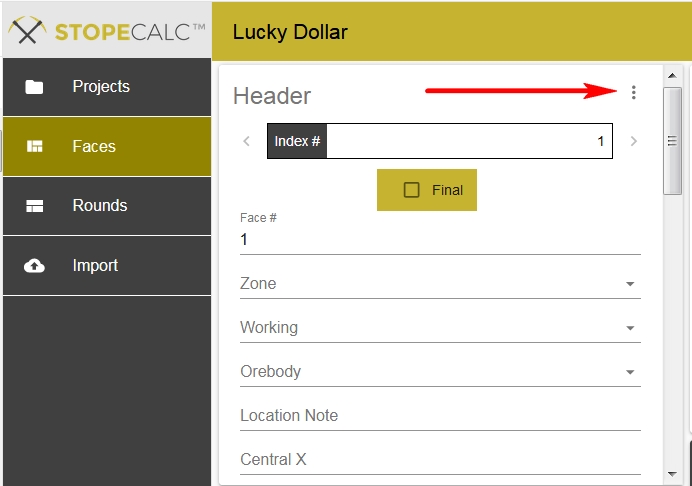
The radio button (3 dots) is pressed, revealing the menu shown in the view below. For Rounds, the button is located in the same position on the screen opposite the Rounds label:
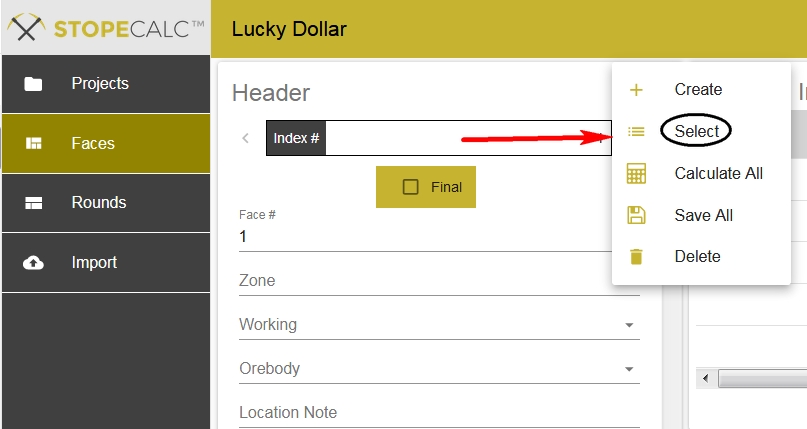
Choosing Select brings up the Filtering dialog:
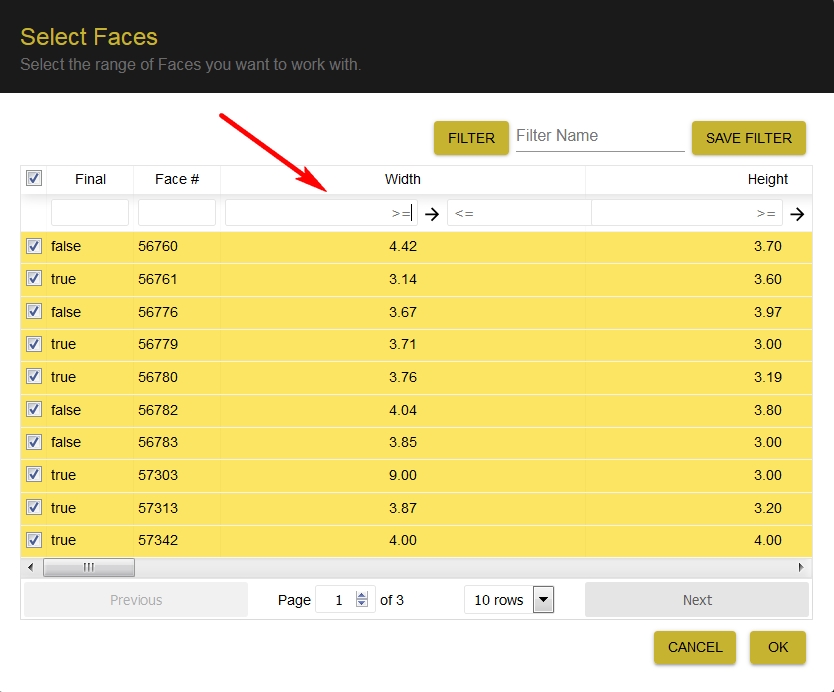
By default, no faces (or rounds) for the project are selected, but in the view above the Final box on the upper left side of the screen was selected which selects all project faces. Individual faces can be de-selected by clicking on the checkboxes. Unselected records will then have no highlighting. More commonly, the user will apply one or more filter criteria, such as the example above for the lower limit of the field (face) Width. Shown below is the result of typing '5' in the box:
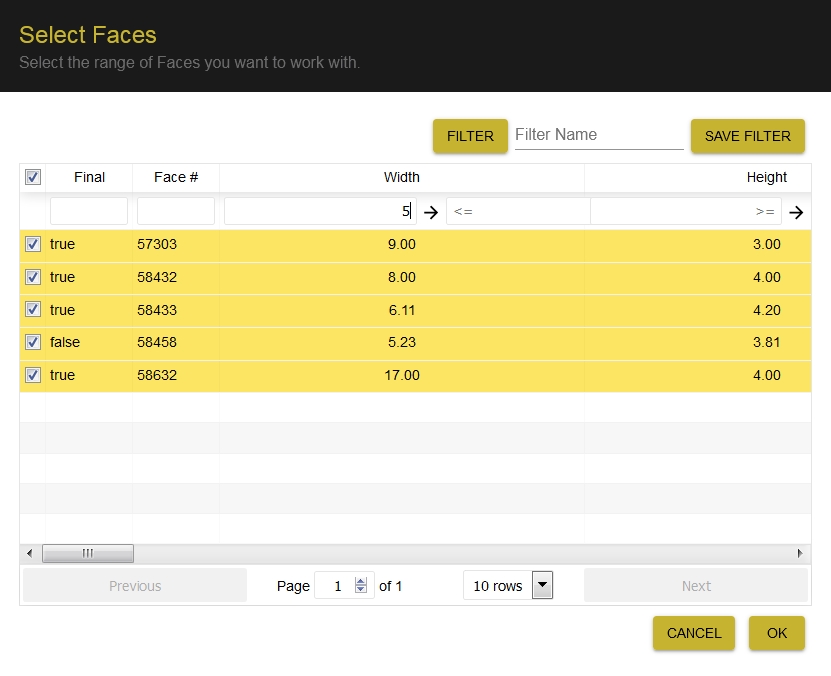
Only records greater than, or equal to 5 are returned. Date filtering uses calendars:
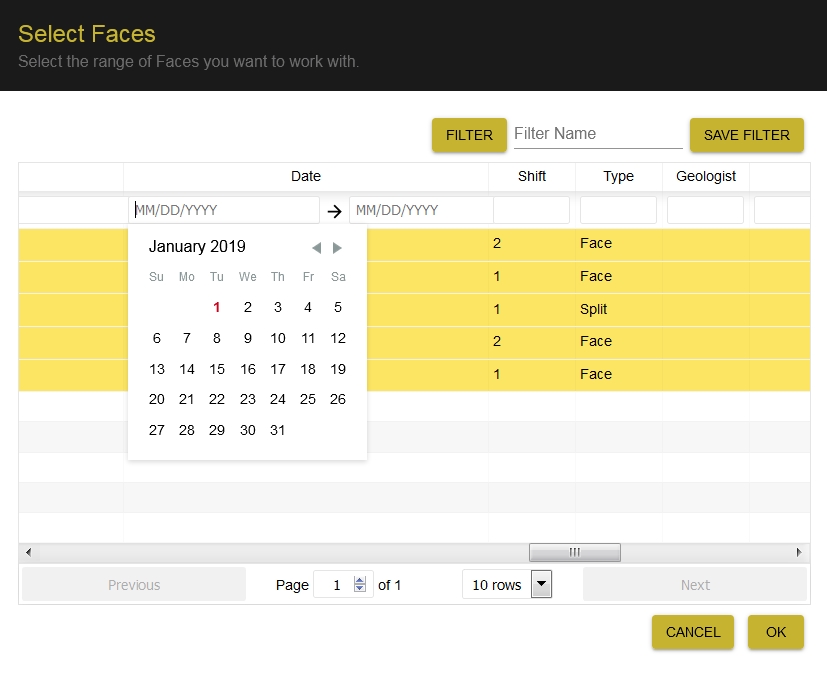
The user can select a lower, an upper, or both lower and upper dates to apply ranges desired.